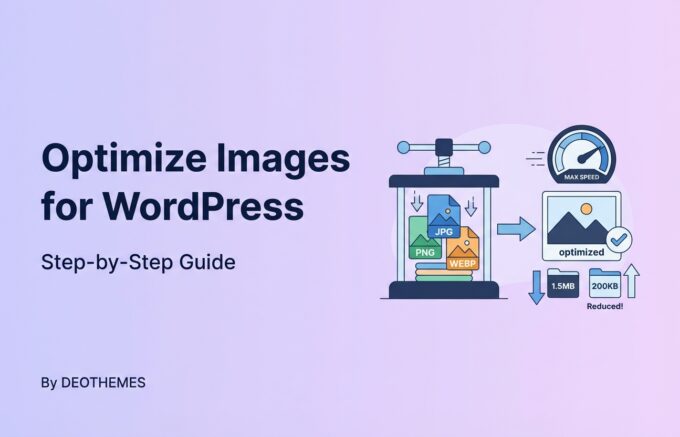
Slow WordPress site? Optimizing images for WordPress is a critical step towards faster loading pages and better SEO.
In this article, learn how to optimize images for WordPress effectively, as we strip away the fluff and dive into practical methods for streamlining your images—without sacrificing quality.
Discover the right file formats, plugins for easy automation, and manual tweaks that keep your visitors happy and your pages quick. Let’s get your WordPress site up to speed.
Key Takeaways
Optimizing images on WordPress is crucial for site speed and SEO, requiring a balance between file size and quality, and involves choosing appropriate file formats and compression methods, such as JPEG, PNG, and WebP.
WordPress plugins like Smush, EWWW Image Optimizer, and various others offer automated image optimization and can handle manual resizing, though multiple plugins should not be used simultaneously to avoid compatibility issues.
Best practices for serving optimized images include implementing lazy loading and utilizing CDNs, while maintaining image quality through lossless compression and preserving EXIF data, with ongoing monitoring and adaptation of the optimization strategy.
Understanding the Need for Image Optimization on Your WordPress Site

Running a WordPress site, time is of the essence. Any website lag can result in a sudden decline in user engagement. One of the culprits behind a slow site is large, unoptimized images.
These not only occupy a significant portion of your website’s bandwidth but also extend page load times, undermining user experience.
But how exactly do we optimize images? The process revolves around reducing the file size of images without compromising their quality.
This balancing act is crucial because while smaller file sizes speed up your website, maintaining high-quality visuals is equally important to keep your audience engaged.
Thankfully, WordPress has an inbuilt feature that automatically compresses all uploaded images to 82% of their original quality, giving you a head start in the optimization process.
The Impact of Image Size on Page Load Times
The speed at which a website loads significantly influences the user’s experience. If your pages take too long to load, users may abandon your site, hampering your SEO performance. Large image files can significantly drag the loading time of your web pages. But why is that?
Each time a user accesses a webpage, the browser must download all the page resources, including images. If your images are large and high-resolution, they will take longer to download, slowing down your page load times.
Moreover, serving large, unscaled images requires the browser to resize them, consuming additional resources and potentially slowing down site performance.
The Role of Optimized Images in SEO
The optimization of your images can have a significant effect on your website’s search engine rankings. Properly optimized images are easily readable and discoverable by search engines, enhancing your content ranking.
Moreover, they engage users by providing high-quality visuals in the ideal format, size, and resolution.
However, image SEO involves more than just reducing file sizes. Alt tags, for instance, play a crucial role in enhancing image context for search engine crawlers, aiding in accurate indexing and ranking of images.
Furthermore, incorporating a keyword-rich caption into an image can enhance image SEO by serving as search text.
The positioning of images on your web page can also affect your SEO rankings. Strategically placing images closer to keyword phrases can lead to improved SEO rankings.
Choosing the Right Image File Formats for Optimization
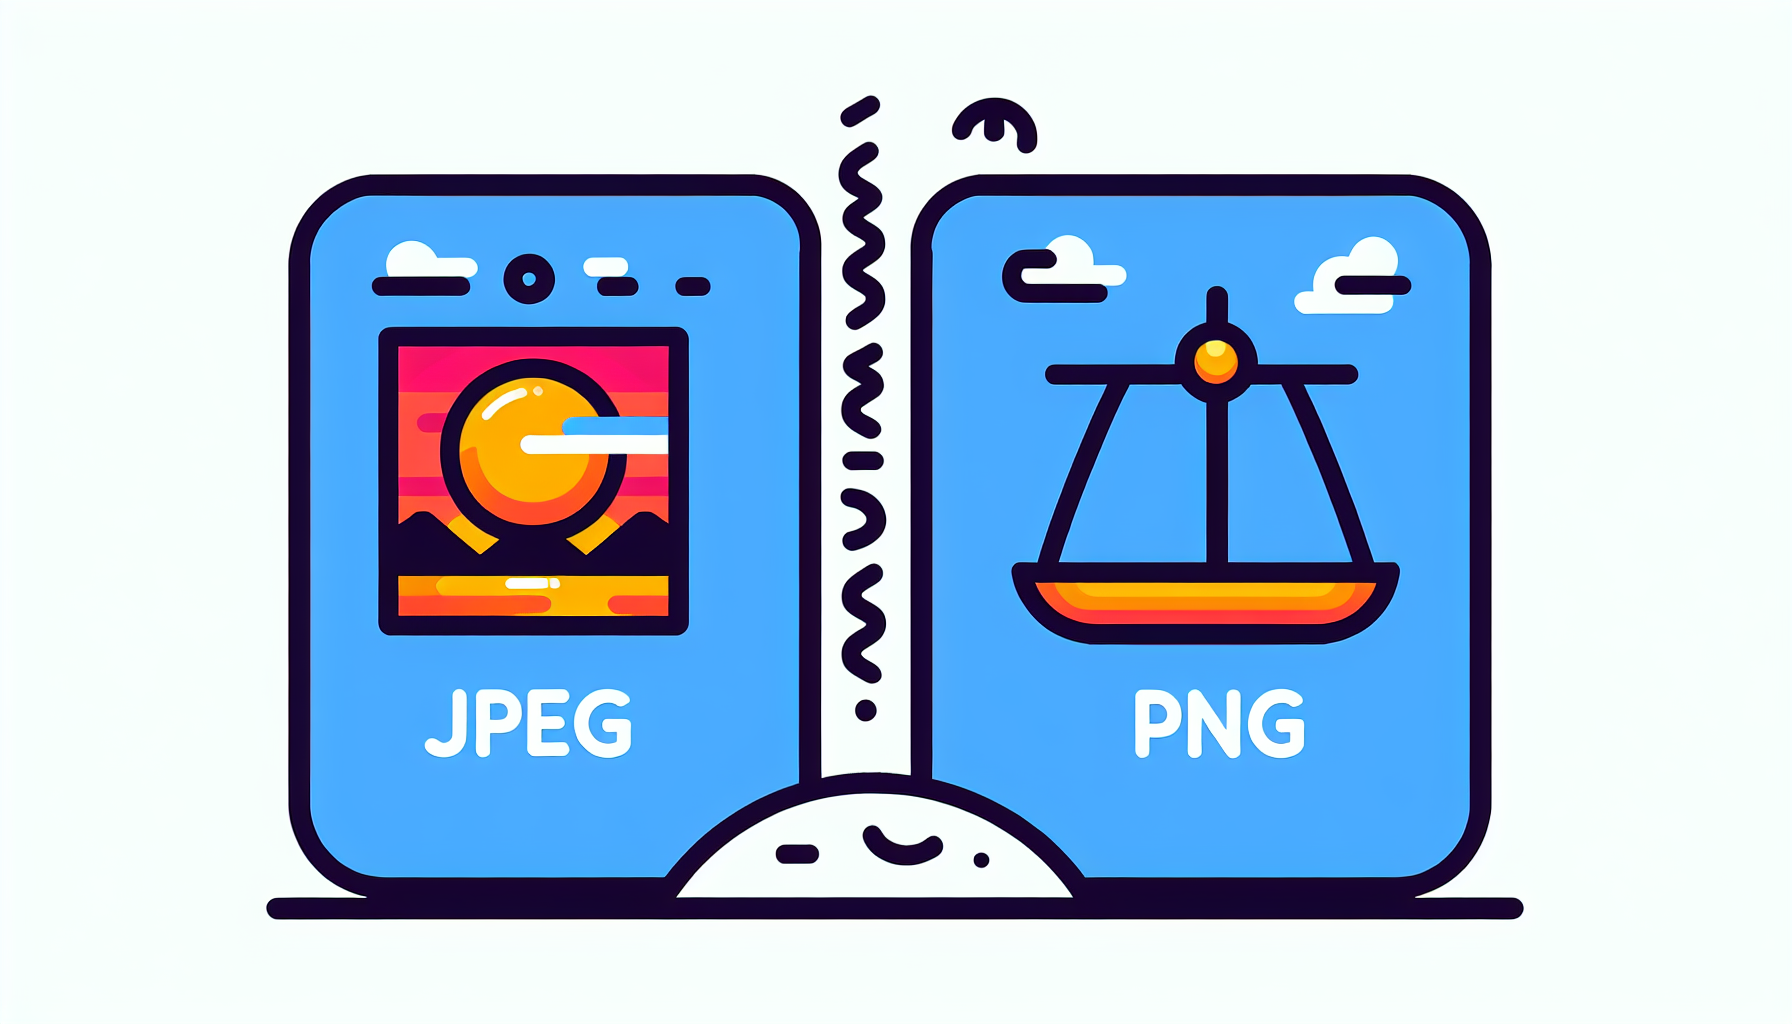
Selecting the appropriate image file format is another vital part of image optimization. JPEG and PNG are the two most prevalent formats used online.
JPEG is most suitable for photographs or images with a wide range of color variation, whereas PNG is ideal for computer-generated graphics, images with limited colors, or images with transparency.
However, there’s a new player in the game called WebP. This format, created by Google, offers enhanced lossless and lossy compression for web images and is designed to supplant JPEG, PNG, and GIF file formats.
You can convert your JPEG and PNG images to WebP format for WordPress optimization using plugins such as WebP Converter for Media or Imagify.
JPEG vs. PNG: Understanding the Difference
Understanding the difference between JPEG and PNG formats is critical for image optimization. JPEG employs a lossy compression algorithm, which decreases file size by removing finer details, potentially impacting image quality.
In contrast, PNG utilizes a lossless compression algorithm that retains all image data, making it an excellent choice for simpler images with fewer colors.
Moreover, PNG images offer an advantage in transparency due to the inclusion of an alpha channel, which allows for varying levels of transparency on a per-pixel basis, a feature that is not available in JPEG images.
Embracing WebP for Enhanced Compression
If you’re looking for superior compression and high-quality images, it’s time to embrace the WebP format. WebP is known for its exceptional compression and high quality, which ultimately leads to accelerated web page loading times.
It achieves its efficiency through the utilization of block quantization and adaptive distribution of bits across various image segments, producing sharper images that are 25 to 30 percent smaller than JPEG and PNG files. And the good news? WordPress plugins like Smush can serve images in the WebP format.
Essential Techniques to Optimize Your Images

After selecting the suitable format, you should proceed with image optimization. There are various techniques to do so, including manual image resizing and editing and automated optimization using WordPress plugins.
WordPress plugins like Smush, EWWW Image Optimizer, and Kraken.io can streamline image processing during upload, ensuring a smooth optimization process without compromising image quality.
But if you prefer to have more control over the process, you can manually resize your images before uploading them to your WordPress site. Image compression plays a crucial role here, reducing file size while preserving quality.
Manual Image Resizing and Editing
Personally resizing and editing your images provides an opportunity to tailor the optimization to your specific needs. You can resize images in WordPress by navigating to Media » Library from your WordPress dashboard, select the desired image, and then click Edit Image.

Additionally, you can adjust the dimensions of an image in popular image editing software such as Adobe Photoshop or GIMP.
Lastly, it’s essential to remember that for optimal web performance, images should have a resolution of 72 PPI, with the dimensions for gallery or portfolio images ideally set to approximately 2000px on the longest side.
Automated Optimization with WordPress Plugins
For individuals favoring automation, WordPress provides a range of plugins for automatic image optimization. Some popular plugins include:
Smush: Provides features such as lossless compression, various compression methods including ‘intelligent’ lossy and glossy, and a wrong-size image finder.
EWWW Image Optimizer: This popular image compression plugin offers unlimited file sizes and various compression methods.
reSmush.it: Provides lossless compression and plugin-specific features.
These plugins automate the image processing upon upload, making the optimization process seamless while preserving image quality. However, it’s important to note that while plugins can complement each other, using multiple image optimization plugins simultaneously may lead to compatibility issues.
The Best Practices for Serving Optimized Images in WordPress
After optimizing your images, the next step is to ensure their efficient delivery. Implementing best practices such as lazy loading and using Content Delivery Networks (CDNs) can significantly enhance your website performance.
Lazy loading defers offscreen images from loading until they are needed, thereby enhancing page loading times and improving user experience.
On the other hand, a CDN is a network of distributed servers designed to accelerate the delivery of web content, such as images, by storing and distributing content across servers located closer to the end users. This not only improves website load times but also offers real-time image optimization.
Implementing Lazy Loading for Images
Lazy loading is a strategy that prioritizes the loading of images that are in the current viewing area. This means that the images further down your page won’t load until the user scrolls to them. This approach can significantly enhance page loading times and improve user experience.
Implementing lazy loading for images in WordPress can be done using the WP Rocket plugin or by adding the loading=”lazy” attribute to img tags with width and height attributes.
However, it’s important to note that while lazy loading can improve your page load times, it can also make split testing for advertising challenging due to increased ad viewability over time.
Nonetheless, the benefits of lazy loading, such as optimized page load time and delivering only essential content initially, far outweigh the drawbacks.
Using Content Delivery Networks (CDN)
A Content Delivery Network (CDN) is another effective way to serve your optimized images. A CDN is a network of distributed servers designed to accelerate the delivery of web content, such as images.
By storing and distributing content across servers located closer to the end users, a CDN improves website load times and offers real-time image optimization.
To integrate a CDN with your WordPress site for optimizing image delivery, you need to:
Establish an account with a CDN provider
Install and activate a CDN plugin on your WordPress site
Configure the settings of the CDN plugin in your website’s dashboard
Once you’ve set everything up, the CDN will take care of delivering your images from a server node close to your users, ensuring faster and more efficient image delivery.
Advanced Image Optimization Strategies
Although the methods outlined above are vital, implementing advanced image optimization strategies can further improve your website performance. These strategies include using adaptive images and integrating image compression tools and services.
Adaptive images automatically modify their file sizes to fit different device screen sizes, guaranteeing optimal viewing experience across various devices.
On the other hand, advanced image compression tools and services, such as EWWW Image Optimizer and Optimole, can further reduce the file size of your images while maintaining their quality, leading to even faster website loading speeds and improved SEO.
Adaptive Images for Different Devices
Adaptive images refer to images that dynamically adjust their size and resolution to suit the specific device they are being displayed on.
By offering customized layouts and experiences for each device, adaptive images enhance performance on various devices and are an integral component of responsive design.
This not only enhances user experience but also improves your website’s SEO, as search engines prefer websites that offer a good user experience across different devices.
You can generate adaptive images for WordPress sites using plugins such as Optimole or Adaptive Images, but remember to follow best practices for effectively displaying adaptive images on mobile devices.
Integrating Image Compression Tools and Services
Integrating image compression tools and services into your WordPress site can greatly enhance your website performance. Some tools to consider are:
ImageOptim
Compress Now
NitroPack
JPEG Optimizer
Optimizilla
Kraken.io
These tools can reduce the file size of your images while maintaining their quality. However, it’s important to remember that each tool comes with its own set of potential challenges such as the potential risk of metadata loss, image corruption, degradation of image quality, slower upload speeds, diminished sharpness in embedded images, and potential compatibility issues with WordPress themes or plugins.
Maintaining Image Quality During Compression
While reducing the file size of images for quicker website loading is vital, preserving the image quality during compression is equally significant. After all, no one likes to see blurry or pixelated images, and high-quality visuals are crucial for keeping your audience engaged.
The most effective technique for preserving image quality during compression is to utilize lossless compression methods or to modify the compression level when converting the image to JPG.
However, it’s also important to understand that different compression methods have their own advantages and disadvantages. Lossless compression preserves the highest quality in an image compared to other algorithms, enabling a smaller file size without compromising image quality.
On the other hand, lossy compression reduces file size by sacrificing data, potentially leading to lower-quality images.
Lossless vs. Lossy Compression Explained
To better understand how to maintain image quality during compression, let’s delve deeper into the concepts of lossless and lossy compression.
Lossless image compression preserves all original data upon decompression, whereas lossy image compression permanently discards specific information to diminish file size.
Lossless compression in image optimization entails the compression of every bit of data without discarding any, thereby enabling the complete recreation of the original file upon decompression.
In contrast, lossy compression is a technique used to decrease the file size of an image by permanently discarding some of its data. It is commonly employed when the image can tolerate a certain degree of data loss or when there is a requirement to free up storage space.
Preserving EXIF Data in Photographs
Another aspect to consider when optimizing images is the preservation of EXIF data. EXIF data in photographs refers to the metadata that encompasses details such as:
Camera settings
Date and time of capture
GPS coordinates
Additional information
Preserving this data can be important for photographers who want to keep track of the settings used for each of their existing images or for those who want to display this information on their website.
Preserving EXIF data during image optimization is crucial due to its inclusion of details on the photo’s original capture and any subsequent edits, aiding photographers in enhancing their editing proficiency.
Furthermore, retaining EXIF data can influence webpage performance and is essential for transmitting full resolution images. However, it’s important to note that WordPress typically eliminates EXIF data from images upon uploading.
Nonetheless, there are plugins like WP-Optimize and Smush that can aid in conserving the EXIF data.
Cleaning and Managing Your WordPress Media Library
While image optimization is key for enhancing your website performance, maintaining a tidy and well-organized WordPress media library is equally significant.
This not only enhances your workflow but also prevents website slowdowns and minimizes storage usage on your WordPress hosting server.
For maintaining a neat and organized media library, you can opt for manual organization or automated procedures with the assistance of a WordPress plugin.
Plugins like Media Cleaner can help you remove unused files, resolve broken files, and improve overall library organization. But remember, before you start deleting files, always make sure you have a recent backup of your site, just in case you delete something important accidentally.
Bulk Optimize Images for Space Savings
Bulk optimization can save significant time when handling a multitude of images. By compressing multiple images at once, you can save considerable storage space, leading to faster page loading and improved website performance. To compress images effectively, tools such as:
Smush
Optimole
ShortPixel Image Optimizer
Imagify
EWWW Image Optimizer
Compress JPEG & PNG images by TinyPNG
An image optimization plugin can be used for bulk optimizing images on a WordPress site.
Deleting Unused Images to Declutter
Eliminating unused images also aids in decluttering your media library and conserving hosting space. You can remove unused images from your WordPress media library by accessing the Media section in your WordPress dashboard, select images individually or in bulk, and then choose the ‘Delete permanently’ option.
However, while deleting unused images can free up hosting space and potentially enhance server performance, it could result in broken links if the images are linked to site content or potential data loss if images are incorrectly identified as unused.
Monitoring and Adjusting Your Image Optimization Strategy
Image optimization isn’t a one-off task. It’s a continuous process necessitating consistent monitoring and adjustments. By keeping track of your image optimization results, you can identify areas that need improvement and adjust your strategy accordingly.
To monitor your image optimization results, you can use tools such as Google PageSpeed Insights, Pingdom, or GTmetrix. These tools not only analyze your site speed and performance but also provide valuable insights and recommendations for improvement.
Staying updated on the latest image formats and web optimization technologies is also significant. This will ensure that your website remains up-to-date and continues to deliver optimal performance.
Tracking Optimization Results and Performance
Monitoring your optimization outcomes and website performance is vital for maintaining optimal image quality and loading times. Some tools that can help you monitor your image optimization results are:
EWWW
TinyPNG
Smush
Imagify
EWWW Image Optimizer
Optimus
ShortPixel Image Optimizer
Compress JPEG and PNG Images
In addition to these tools, you can leverage Google Analytics to monitor the effectiveness of your image optimization. Google Analytics allows you to track and analyze website data, including load times and recommendations for enhancing site speed, such as optimizing images.
Furthermore, you can monitor the overall performance of your WordPress website after optimizing images by utilizing tools such as GTmetrix or Pingdom to analyze site speed and performance, and to monitor statistics and trends over time.
Keeping Up with Emerging Image Formats and Technologies
Staying abreast of emerging image formats and technologies is essential for maintaining your WordPress site’s competitiveness. The web is constantly evolving, and new image formats and technologies are continually being developed to improve website performance.
To stay updated, you can leverage modern web technologies like CSS3 and HTML5 to deliver images in NextGen formats. You can also utilize the following strategies to optimize your website’s images:
Caching technologies
Image compression
Lazy loading
Image editing
Substituting GIFs with HTML video
The key is to stay flexible, constantly learn, and adapt to new image optimization strategies that can enhance your website’s performance.
Summary
Image optimization plays a crucial role in enhancing the performance of your WordPress site. From understanding the importance of image optimization to choosing the right file format, compressing images, and cleaning up your media library, each step contributes to a faster, more efficient site that offers an enhanced user experience.
By regularly monitoring your results and adjusting your strategy, you can ensure that your website remains competitive and continues to deliver optimal performance.
Frequently Asked Questions
How do I optimize images for my WordPress site?
To optimize images for your WordPress site, you can follow these tips: choose the right file format, use an image compression tool, enable browser caching, disable hotlinking, and consider using a Content Delivery Network (CDN).
Additionally, you can use the Jetpack App to automatically optimize images and resize the original files as needed. Another approach is to serve images through a CDN, compress images, resize them, and clean up your WordPress media library.
How do I improve image quality in WordPress?
To improve image quality in WordPress, avoid using blurry or pixelated images, resize images to the required dimensions before uploading, use the RGB color space, and consider increasing WordPress’ JPEG compression limit through the SimpleJPEGQuality plugin. These steps will help enhance the overall visual experience for your website visitors.
What is the impact of large image files on page loading times?
Large image files can significantly slow down page loading times, negatively impacting user experience. It’s important to optimize image sizes for faster website performance.
How do I choose the right image file format for optimization?
Choose JPEG for photographs with many colors and PNG for simpler images with fewer colors.
What is the importance of cleaning and managing my WordPress media library?
Cleaning and managing your WordPress media library is important to prevent website slowdowns, minimize storage usage, and enhance your workflow. It will help keep your website running smoothly and efficiently.


